

Services

PC Builds
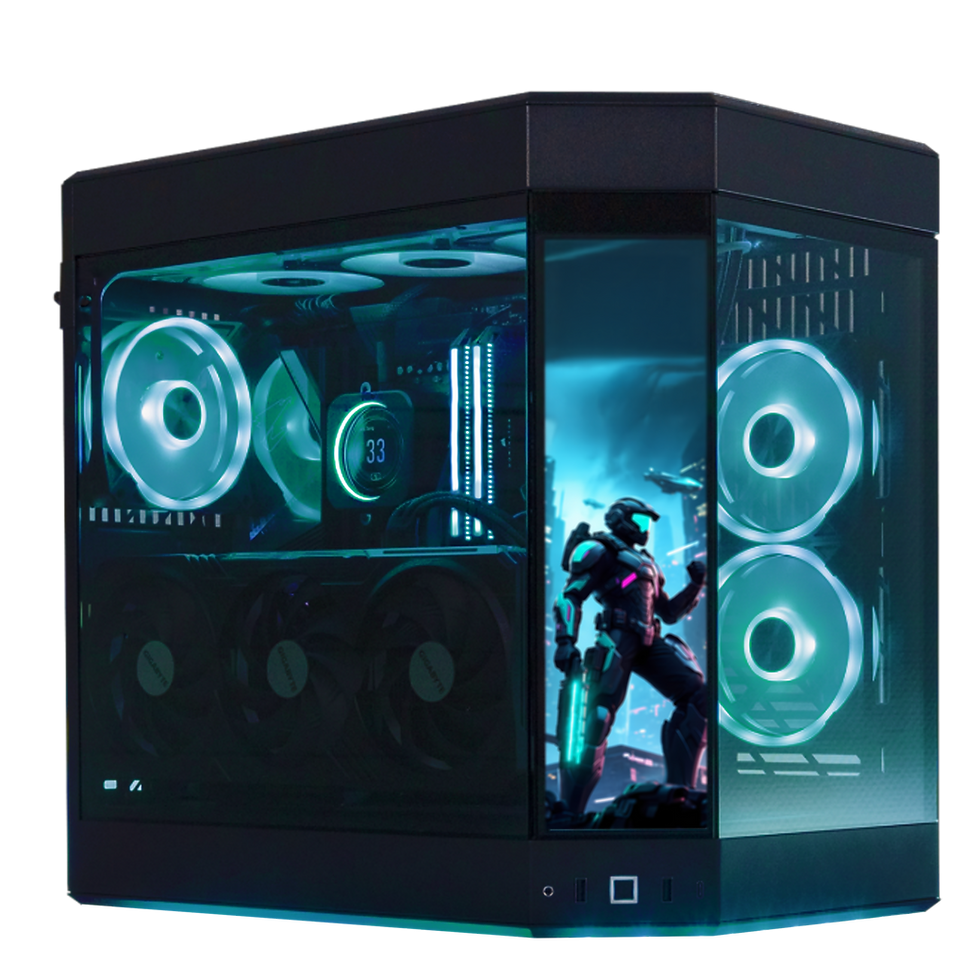
Get a high-performance PC built to your specs. Whether for gaming, work, or content creation, we deliver powerful, reliable systems tailored to you.

support
We don’t specialize in tech support, but we’ve seen a lot. If you’re stuck or need a hand, feel free to reach out. We’ll do our best to help however we can.

the vault
A stash of tools, tips, and tricks for streamers and creators. From overlays to presets and setup advice. It’s all here to level up your content.


Frequently asked questions
Step 1: Inspect for Exterior Shipping Damage
Although each PC is carefully tested and packaged to ensure it arrives in excellent condition, shipping can sometimes cause components to shift or sustain minor damage. Before opening the package, please take a moment to carefully inspect the outer box for any signs of damage, such as dents, tears, or crushed corners.
If you notice any damage, take clear photographs of the affected areas before proceeding. These images will be valuable for filing a claim with the courier and will help us support you more efficiently in case reimbursement or replacement is needed.
Step 2: Inspect Internal Packaging and PC
Once you’ve confirmed the outer box is intact, carefully open the package and examine the internal packaging. If the internal box or protective materials appear damaged, such as being torn, dented, or shifted. This may indicate mishandling during transit.
Before removing the PC from the packaging, take clear photographs of the internal box and packing materials. This documentation is important for supporting any potential claims related to shipping damage and will assist us in resolving any issues promptly.
Step 3: Carefully Remove and Inspect Your PC
Gently lift your PC out of the packaging, taking care not to put strain on any components or cables. Once unboxed, conduct a thorough visual inspection of the system.
Focus on the following key areas:
PC Case: Check for any chips, dents, scratches, or cracks. Especially if your case features tempered glass panels.
Graphics Card: Ensure the graphics card is properly seated and secured in place. It should not appear loose, tilted, or disconnected.
Cables and Connections: It's good practice to check that all internal and external cables are firmly connected, as vibrations during shipping can sometimes cause minor shifts.
If you notice any issues or abnormalities, take clear photos and document them. This will help both us and the courier service in resolving any concerns quickly and efficiently.
Step 4: Connect peripherals
Attach your keyboard, mouse, and any other accessories to the appropriate ports. Be sure to connect your monitor to the graphics card to ensure the best display output. These connections are located horizontally at the back of the PC. Vertical ports, which are located towards the top of the case, are linked to the CPU and may not provide optimal performance for gaming. For the best experience, always use the graphics card ports for display connections.
Step 5: Power up your system
Plug the included power cord into the back of your PC and a wall outlet. Please only use the power cable provided, using another cable could damage your system.
Before pressing the power button, double-check the power supply switch located at the bottom of the tower. Make sure it's flipped to the "I" position (on). If it’s set to "O" (off), the system won’t start.
Step 6: Start gaming!
Once powered on, your computer should boot up with Windows already activated and all necessary drivers installed for stock components, including RGB settings and XMP profiles. Now, you’re all set to enjoy a premium gaming experience with your brand-new PC!
As soon as we receive your order, we begin sourcing all the necessary components. Since we're a small business and don’t maintain a large inventory, this means ordering from our trusted online distributors or picking up parts from the excellent local shops we’re lucky to have nearby. This sourcing process typically takes 1–7 days, depending on stock levels and the availability of specific components.
Once everything is in hand, the build process takes about 1–2 hours. After assembly, we spend another 2 hours updating and configuring Windows, installing essential drivers, and performing a full system test to ensure every component is working exactly as it should.
Your PC will be shipped the same day the build is completed, or the next business day at the latest. Standard shipping usually takes 5–7 business days, depending on your location.
We’ll keep you informed throughout the process and provide tracking details as soon as your system is on its way.


